While working with files in Cascade, you will be either uploading a new file to Cascade or replacing a file that is already in Cascade.
When do you upload a new file?
You will upload a new file when you want to post a file that is not currently on the website or within Cascade.
When should you replace a file?
When you need to update a file that is already on the website, you should be replacing the file instead of uploading a separate new file. For example, if you are updating someone’s picture or needing to post the newest version of academic requirements you should be replacing the file that is already in Cascade.
How to upload a new file in Cascade
Step 1
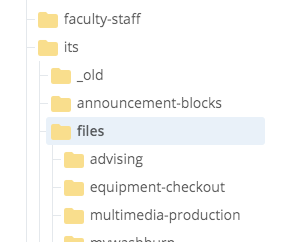
Navigate to the folder you’d like to place the file. Be sure to place your file in a 'files' folder. Every area should have a folder designated for files.
If you are uploading an image, you must place it in the designated images folder. You can find your iamges folder by following this path in Cascade: _redesign2018 > _files > images > interior > your department folder
Step 2
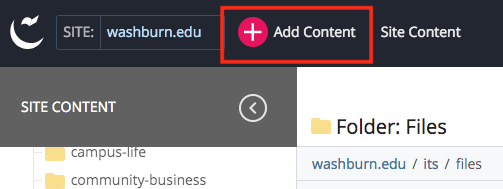
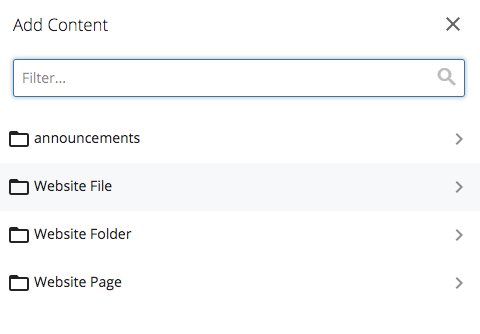
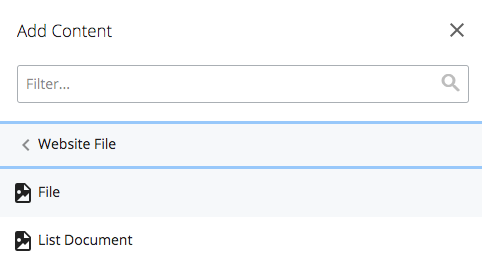
Click Add Content, Website File and then File.
Browse for the file on your computer by clicking on choose OR drag and drop into the rectangle.

Click Preview Draft in the upper right to view your file.
If you're happy with the file, click Submit. This will start a workflow which requires approval from the Web Team. Add notes about your new file if needed, and then click Start workflow.
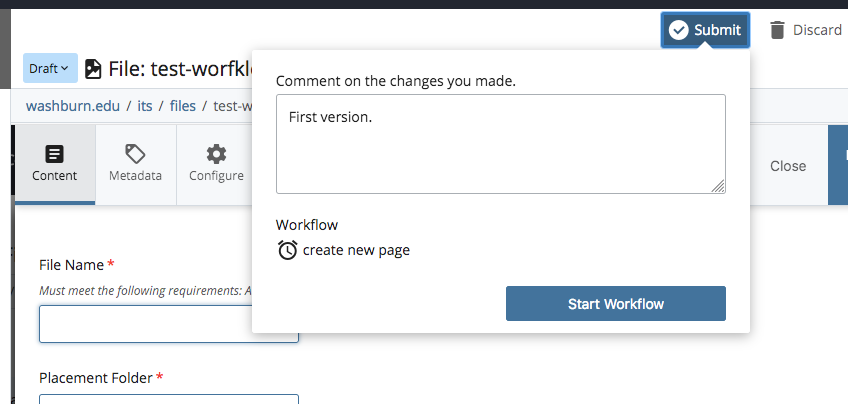
A notification will be sent to the web team for approval and you will be sent an email once it’s approved. After approval, you will be able to navigate to your file in Cascade.
Need more Cascade support? Please contact webmaster@washburn.edu.
